Configuring Your Membership Program
Overview
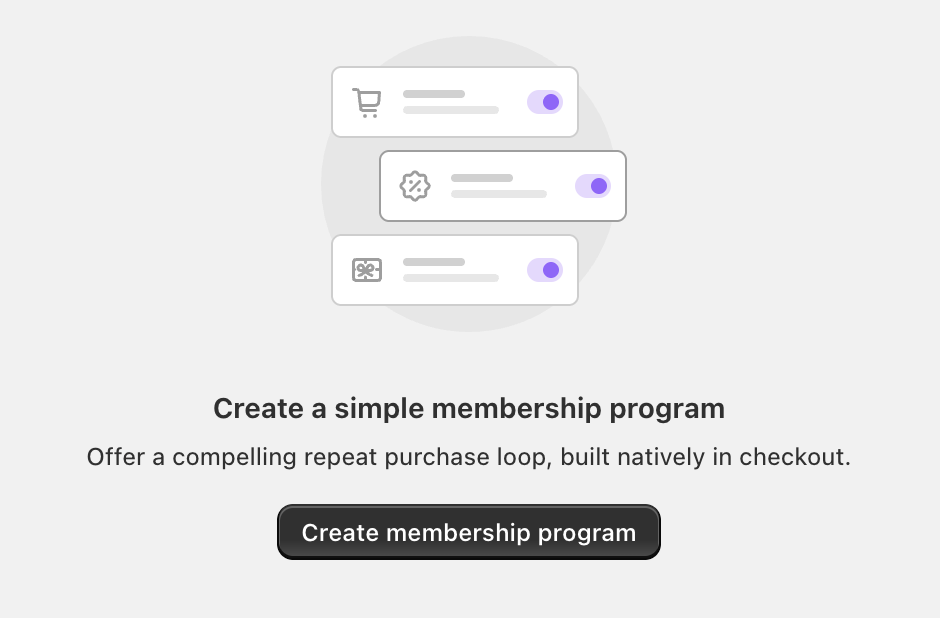
After installing the Angle Store Credit Memberships app, you can configure a membership program to reward repeat customers with store credit. This guide walks you through all the configuration options available when creating a new membership program.Accessing the Membership Program Setup
- From your Shopify admin, go to Apps > Angle Store Credit Memberships.
- Click on Membership in the sidebar.
- Select Create membership program.
Configuration Options
1. Membership Name (Required)

- Enter a descriptive name for your membership program.
- This name helps you identify and manage the program internally.
2. Membership Eligibility

- All customers: Every customer is eligible. Note: you will be able to set global exclusions of certain customer groups via tags below.
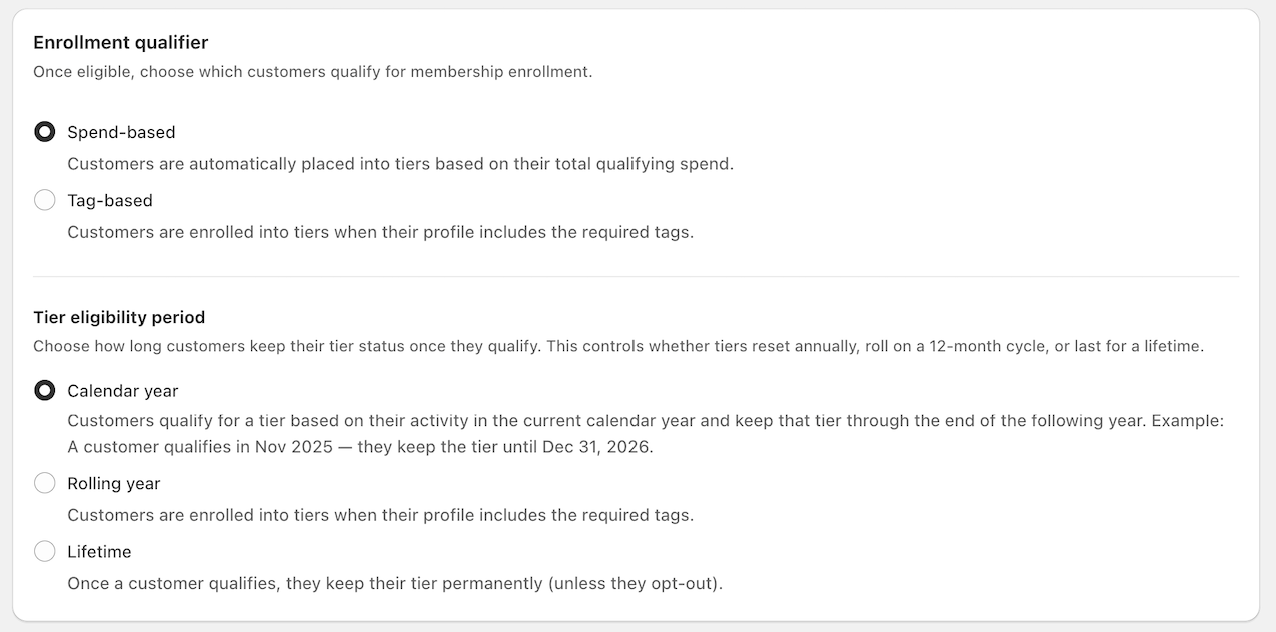
3. Enrollment Qualifier
-
Spend-based:
Customers are automatically enrolled based on their cumulative spending.Example: A customer spends $500 and is enrolled into the program and placed in a tier.
-
Tag-based:
Customers are enrolled based on customer tags in their profile.Example: A customer with the tag “VIP” is enrolled in the program.
4. (Conditional) Tier Eligibility Period
If you choose “Spend-based” enrollment, you will see a series of tier eligibility options. Control how long customers retain their tier status after qualification:-
Calendar Year:
Tier lasts until the end of the next calendar year.E.g., qualified in Nov 2025 → tier retained until Dec 31, 2026.
-
Rolling Year:
Tier lasts for 12 months from the date of qualification.E.g., qualified on June 1, 2025 → tier retained until June 1, 2026.
-
Lifetime:
Once qualified, customers retain their tier status permanently unless they opt out.
5. Exclude Customers

- You can exclude customers who match:
- Any of these tags, or
- All of these tags
Example: Entering the tag employee excludes all employees from being .
6. Notifications

- Send store credit emails:
Customers will receive an email from Shopify when store credit is added to their account. - Click Preview email to view the default email template.
(Email customization options may be available in a future update.)

Finalizing Your Setup
After configuring all options:- Review your settings carefully.
- Click Save (or equivalent) to create your membership program.
Next Steps
- Define your credit issuance rules and amounts per tier.
- Monitor member activity and adjust tiers or rules as needed.
- Use Shopify tags to manage custom segments if using tag-based enrollment.
If you require assistance creating tiered rules or managing store credit, please refer to the [Store Credit Configuration Guide] or contact support through the Contact Us link in the app.